Setup
Get up and running in 6 steps
Grab the accessory bag from the box and follow along. It only takes a few minutes.
-
Step 1
Unbox and find a spot
- Carefully remove the PC from its packaging and set the accessory bag aside, you'll need it soon.
- If foam is packed inside the case (open the clear side panel to check), gently work it loose without tugging on any cables or the graphics card.
- Place the PC somewhere cool, dry, and free of dust.
-
Step 2
Connect your monitor
- Check whether your PC has a graphics card. Look inside the case, or compare the back of your PC to the pictures below.
- Plug your monitor cable into the highlighted ports on the picture that matches your PC.
- Not sure which cable to use? Match your monitor and PC to one of these.
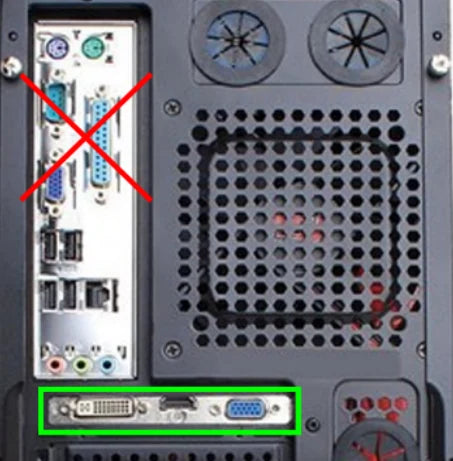
If your PC has a graphics card, use its ports. Not the ones crossed out above them. 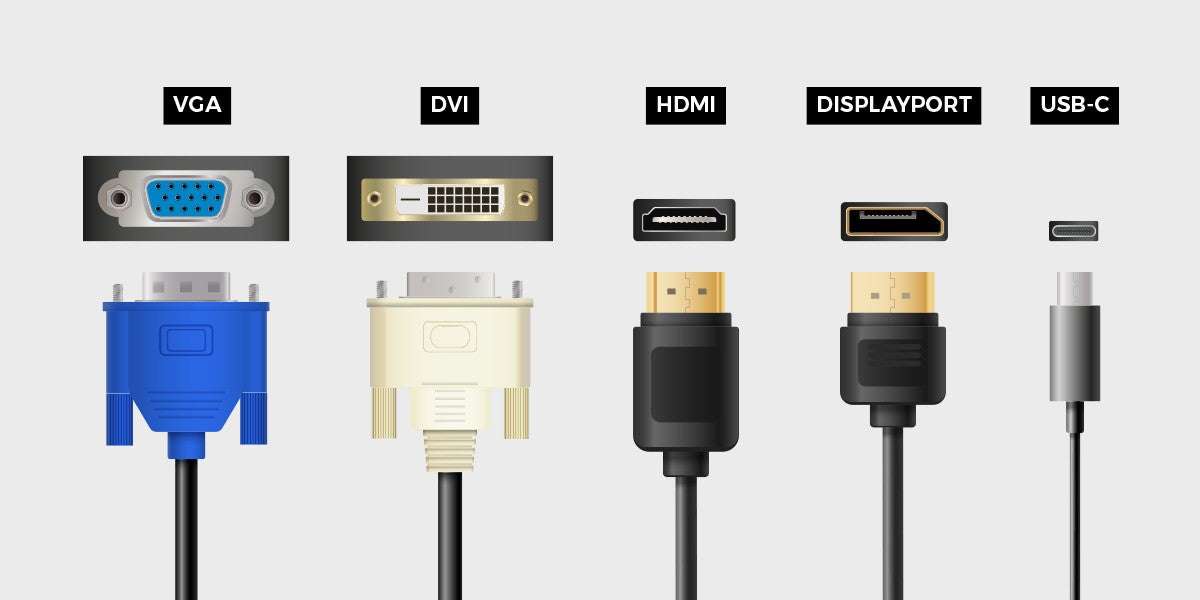
The five connectors you are likely to meet -
Step 3
Connect keyboard and mouse
- Plug your keyboard and mouse into any USB port on the PC.
-
Step 4
Connect speakers or headphones (optional)
- Plug speakers or headphones into the green audio port, front or back of the PC.
- Using a microphone? That's the pink port.
-
Step 5
Get connected to the internet
- Using Wi-Fi: plug the included USB Wi-Fi adapter into any USB port on the back of the PC.
- Using ethernet: just plug your ethernet cable into the port on the back, no adapter needed.
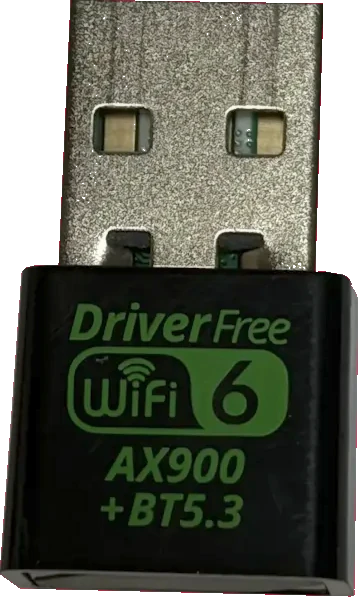
The USB Wi-Fi adapter from the accessory bag -
Step 6
Power up
- Connect the power cable to the back of the PC and flip the power switch to ON.
- Press the power button on top or front of the PC.
- Windows will boot up and may install a few updates the first time. That's normal.
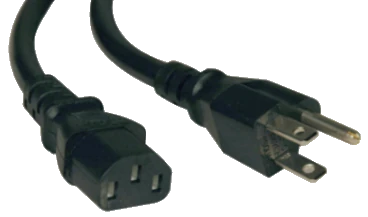
The power cable from the accessory bag 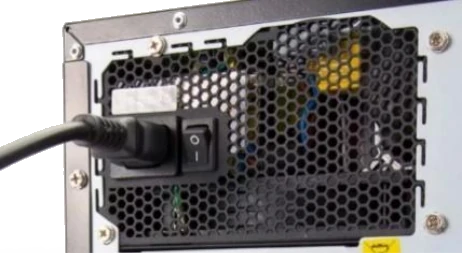
Plugged in, with the switch set to ON
